Deployment Artefacts
Receipt Microservices for docker deployment is available as single release bundle ms-receipt-package-docker-<release_number>.zip.
Kubernetes (k8) pack will be present inside src/docker.
Enabling Kubernetes (on-premise)
-
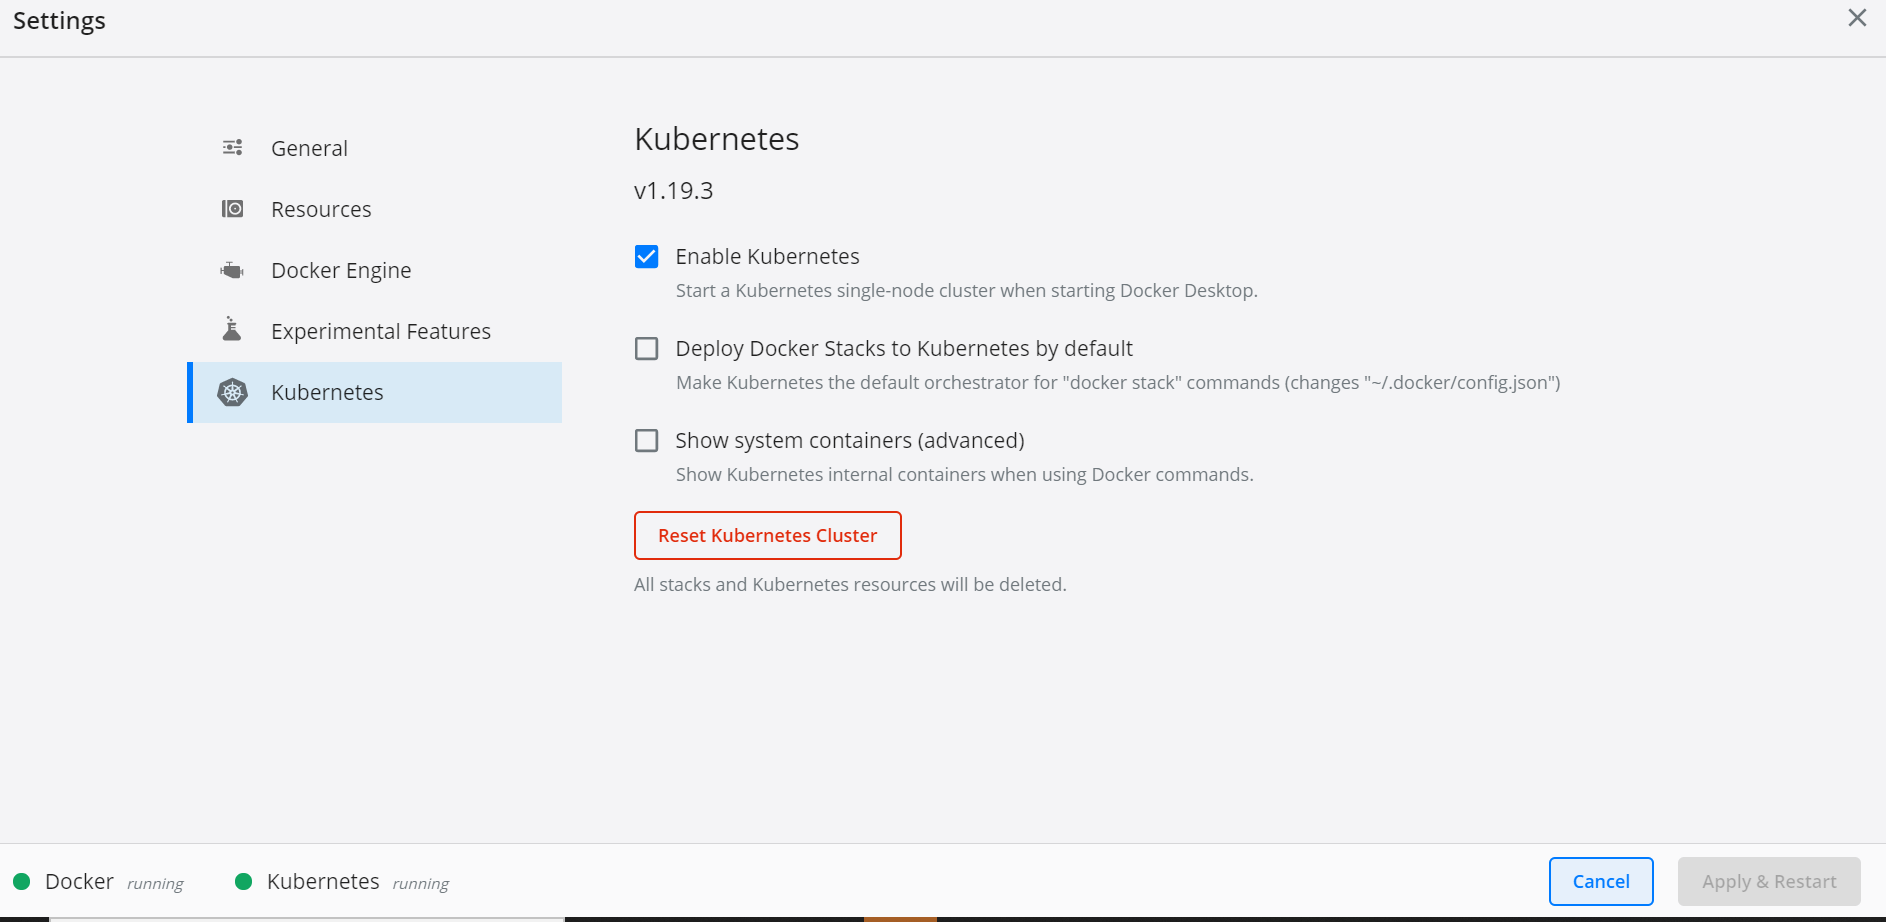
After the docker is installed, enable Kubernetes in the Docker
Desktop app.
-
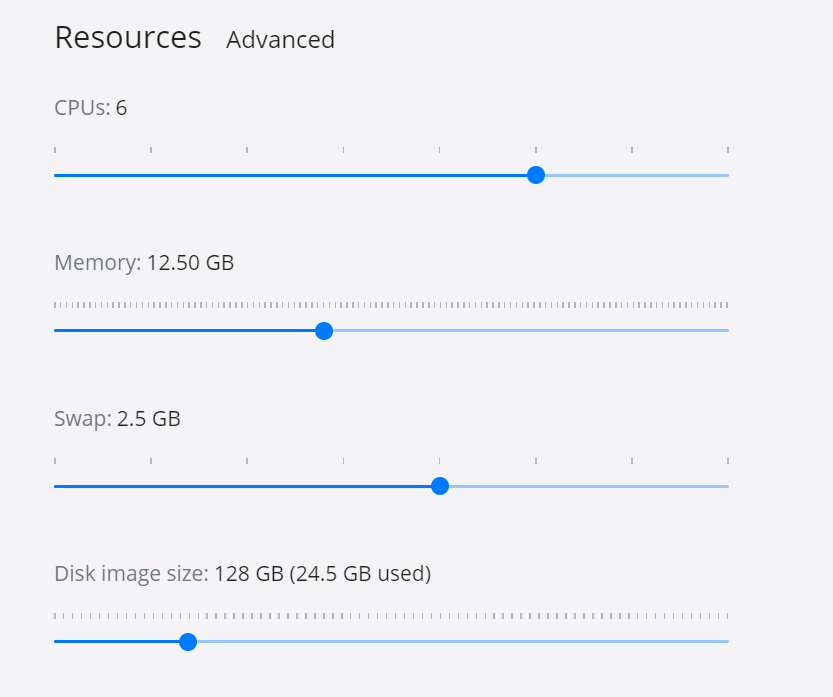
Kubernetes requires a minimum of 6 CPUs to run
smoothly. Go to Docker settings / Resources and increase
the CPU and Memory as shown here
- Install Helm and set helm path as an environment variable on the system
Deployment of Receipt Microservice in Docker
Follow the steps below to deploy the Receipt Docker package.
-
Unzip the
ms-receipt-package-docker-release_number.zip

-
Extracted package contains the configuration files and Navigate to k8/on-premise.
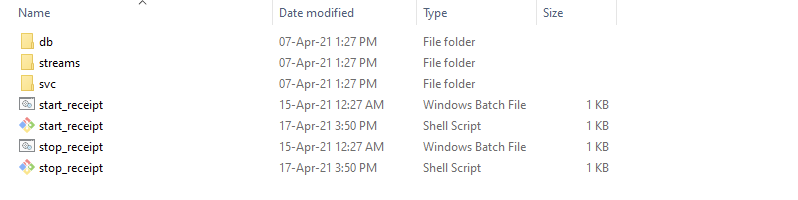
- Open a command prompt in an on-premise folder.
-
Navigate into the streams folder
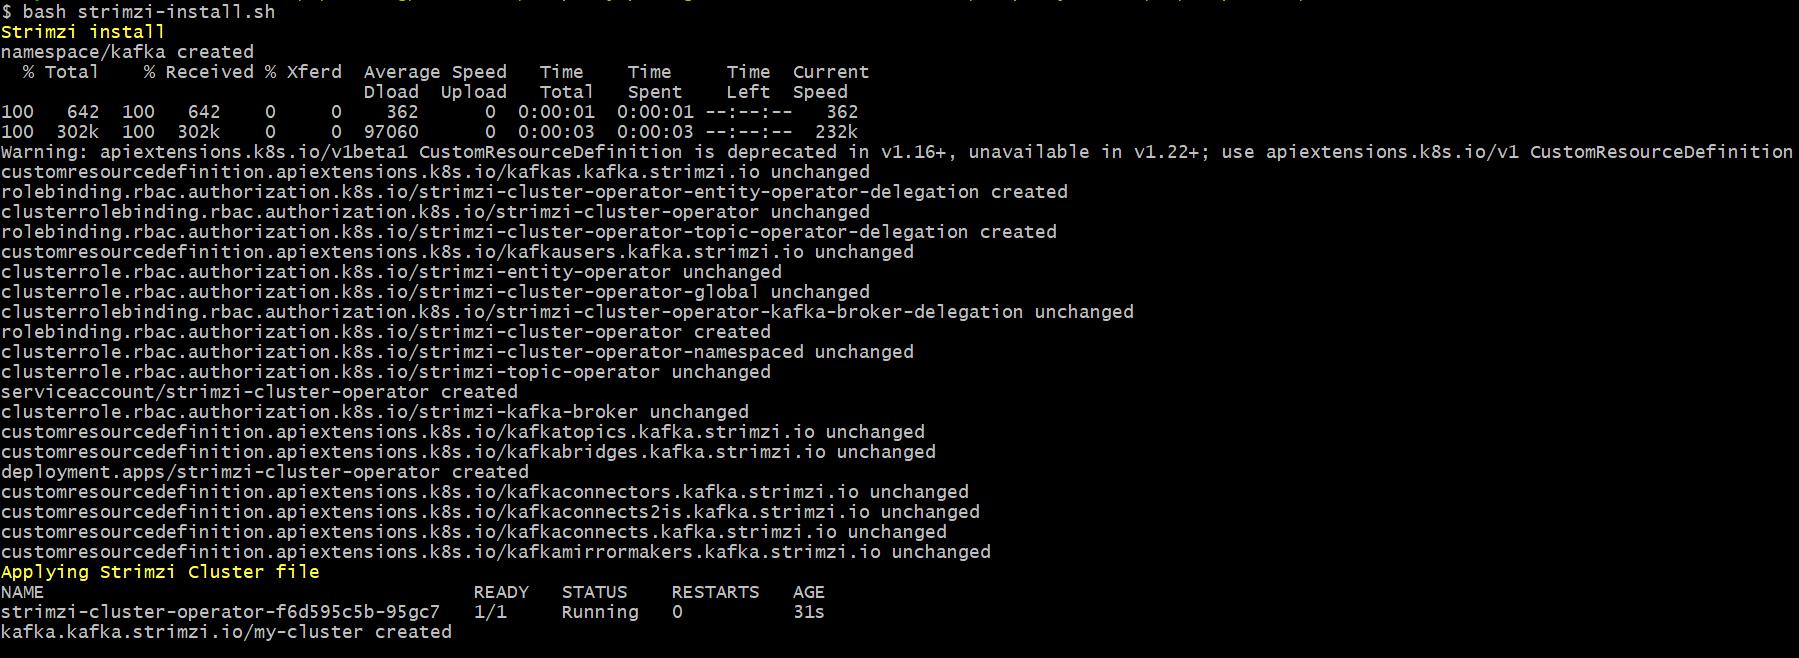
NOTE:if Strimzi is not installed in the machine, run ./strimzi-install.sh .This is a one-time step and should be repeated if we reset our Kubernetes cluster
-
Execute kubectl get pods -n kafka in order to
check all pods are up and running.

6. Enable JWT Authentication in receipt-configmap.yaml. Also, configure the events raised by the receipt microservice.
7. Navigate from the command prompt to
the directory where the .bat and .sh files are available and execute
the below command which creates an image and docker container for the
image.
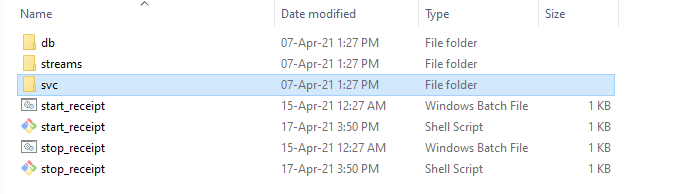
| Script | Description |
|---|---|
| start-receipt.bat / start-receipt.sh | To deploy all the necessary components for a microservice including streaming services will be deployed, in order to run the microservice independently. |
For Windows start-receipt.bat
For Linux start-receipt.sh
Undeployment
-
To stop and remove the existing container, execute the below
command from the location where the receipt docker is started.
NOTE:
For Windows : stop-receipt.bat/stop-receipt.sh
In this topic
